Appearance
Getting Started
This guide walks you through installing the VHOLUME mapping project and creating your first map.
Leaderboards are created automatically
When you publish a map to Steam Workshop, its leaderboard is created automatically within a couple of hours. If you want it available sooner, claim or add the level through the Discord bot. See the Discord Bot page for details.
Requirements
- Unreal Engine 5.4 (5.4.4 recommended) - see the quick setup guide
- Windows 10/11
- A Steam account (for Workshop publishing)
Install the project
- Download the latest mapping project from the Download page.
- Extract the zip to a folder of your choice.
- Open
vholumeMapping.uprojectwith Unreal Engine 5.4.
VHMap setup will appear automatically if anything needs to be configured.
VHMap setup
When the project opens, VHMap checks that everything is ready for packing and playing. The setup window lists anything that still needs attention and gives you a button to fix it.
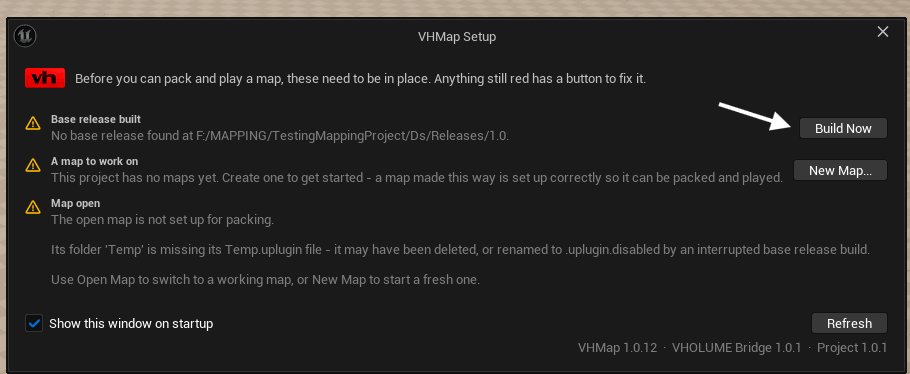
Common items you will see here:
- Base release built -- click Build Now to generate the base release. Without it your map cannot be packed.
- A map to work on -- click New Map... to create your first map plugin.
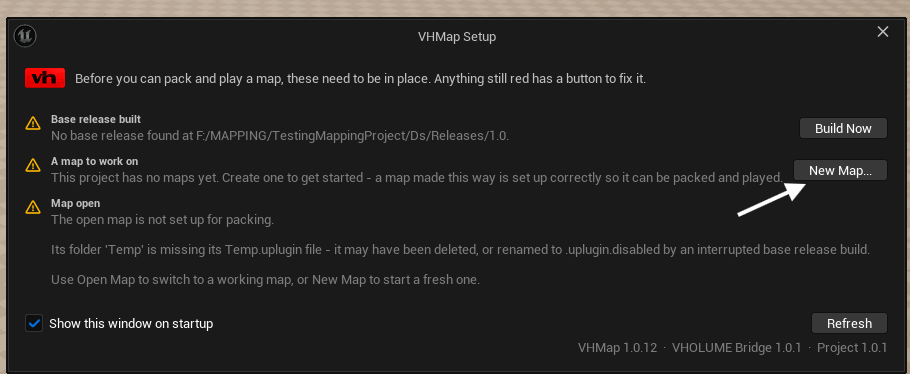
If you close the window, reopen it from VHMap > Setup Checklist....
Build your level
Everything the player runs on - floors, walls, platforms, the route itself - is yours to build. Place basic shapes, build geometry with the modeling tools, or bring in your own meshes and textures.
Start from the starter assets
The project ships with a small set of blockout meshes in Content/VHStarter/Meshes. Drag them into your level and scale them into platforms and walls. It is the quickest way to make a simple VHOLUME-looking map.
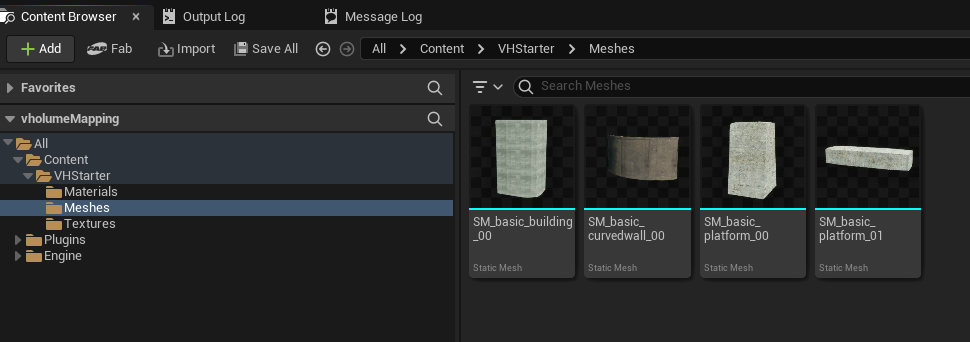
Content/VHStarter/Materials holds the concrete and metal materials that go with them. Apply those to your own meshes too - they are yours to use however you want.
Block out with basic shapes
In the toolbar, open the Add menu (the green plus) and pick Shapes.
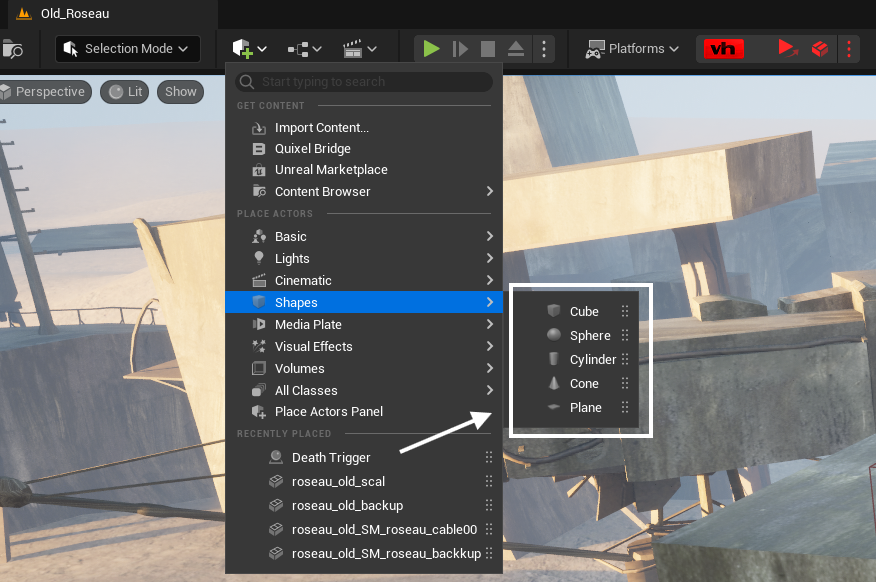
Drop cubes in, scale them into platforms and walls, and run the map. A layout made entirely of grey cubes is enough to play and test a route.
Build geometry with the CubeGrid tool
Unreal's Modeling Mode has a CubeGrid tool that builds geometry by pushing and pulling blocks on a grid, directly in the viewport. It writes the meshes it makes into your map's folder, so you can keep editing them with the other modeling tools afterwards.
Switch the mode dropdown to Modeling Mode, then pick CubeGrid under Create.
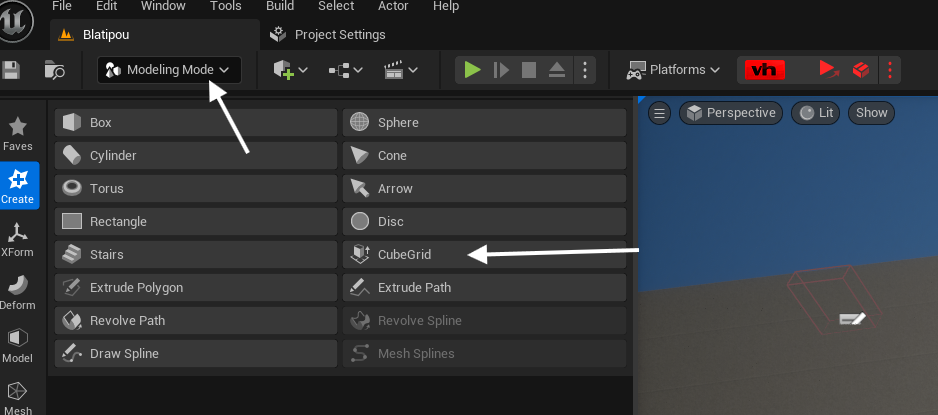
For how to use it, see this CubeGrid tutorial.
Import your own meshes and textures
When you want your own art, import it into the Content Browser with the Import button, or drag files straight in. Static meshes (FBX), textures (PNG, TGA, JPG) and the materials you build from them all work the same way they do in any Unreal project.
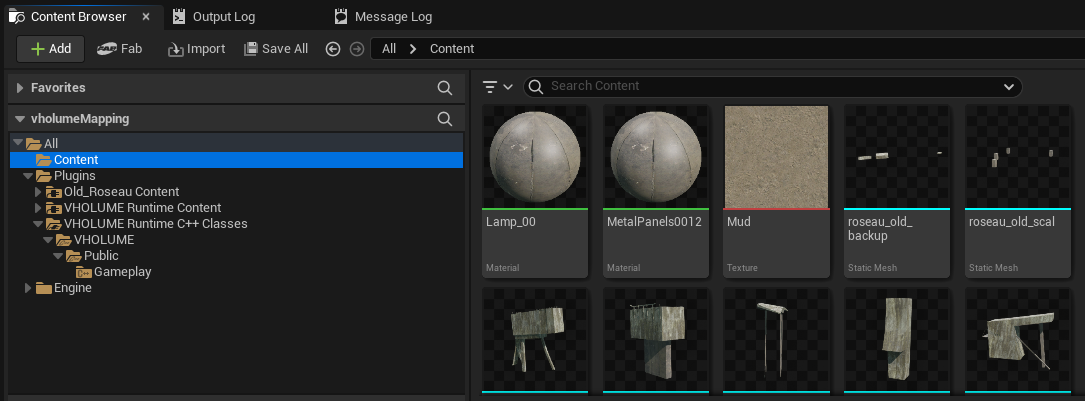
Create materials from your textures, apply them to your meshes, and place them like any other actor.
Import into your map's own folder. Your map lives in its own plugin, and in the Content Browser that shows up under Plugins as <YourMapName> Content - the same folder your level sits in. Anything you put there belongs to your map and is packed with it.
If you import somewhere else, such as the project's top-level Content folder, your map still works: VHMap finds the content your map references and copies it into the pak when you export, so nothing is left behind. The diagnostics will point it out as a warning rather than an error. Keeping your art in your map's folder from the start just avoids the copy.
Find the VHOLUME actors
If you created your map with New Map - from the setup window, or VHMap > Create Map - you are not starting from nothing. The new level already contains everything a playable map needs: a checkpoint set to Start, a Map End Trigger, ambient sound, a PlayerStart and a floor to stand on. Put the Start checkpoint where your route begins and the Map End Trigger where it ends, and you have a playable map.
To place more VHOLUME actors, you need to see the plugin's content. It is hidden in the Content Browser by default:
- Open the Content Browser.
- Click the Settings icon in the top-right.
- Enable Show Plugin Content.
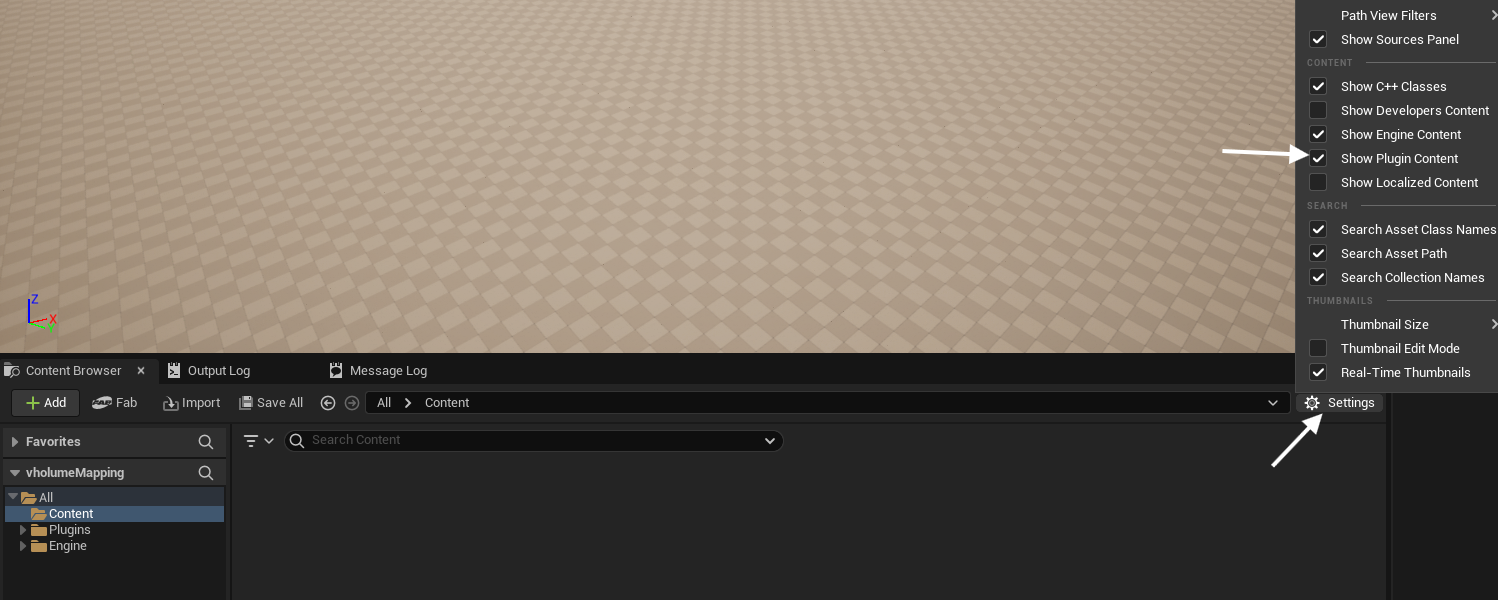
- Look under
Plugins/VHOLUME Runtime Content/VHOLUME/Public/Gameplay.
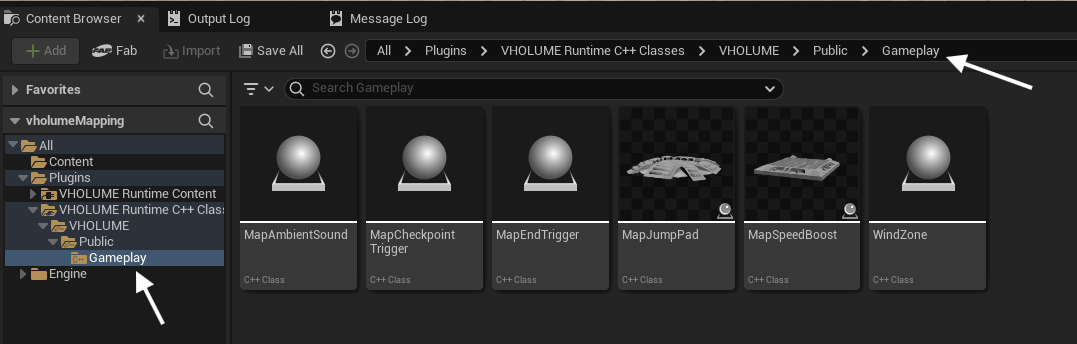
You can drag any actor directly into your level. For details on each one, see the Actors pages.
Every map needs two of them
A Checkpoint Trigger with its Type set to Start, and a Map End Trigger.
Maps created with New Map already have both.
Test your map
You can jump straight into the game from the editor to test your work.
Playing on the demo?
If you have the VHOLUME demo rather than the full game, change the setting first - see Testing with the VHOLUME demo.
- Make sure your map level is open.
- In the editor toolbar, click VHMap > Play.
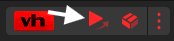
- Steam will ask if you want to start VHOLUME with a command line. Click Yes.
- The game launches and loads your map automatically.
This is the fastest way to test your map out directly in the game.
Build in your own map rather than DefaultMapTemplate - that level belongs to the toolkit and cannot be packed. VHMap warns you if you open it, and offers to move anything you have built into a map of your own.
Next steps
- Read about the available actors
- Learn how to package and publish your map
- Explore other VHMap tools on the Using VHMap page
- Control leaderboard resets with the Discord Bot